Source: 1cardcreator.blogspot.com/search/label/Tutorials
Choose your cardstock, score, fold and cut to desired size.
Do the same with another sheet of cardstock or heavy paper. (but do not use your bone folder on the crease of the inside card yet).
Also fold your inner card in the opposite direction so the pretty stuff is on the inside.
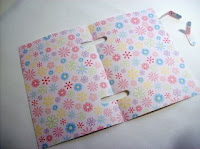
If you have a word window punch from Stampin Up you can close the inner card on its fold, and use the punch pushed up as far as it will go from the bottom of the card, find the halfway of the punch and make a punch (so when you open up the folded piece you removed it will be the same size as the window punch itself) Repeat from the top of the card. (picture) Or use an exacto blade to cut.
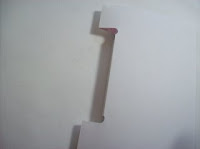
With the pattern side facing up using a ruler score a line from the outside of the bottom slot to the top slot and repeat on the other side.(picture) Now you can bend the score lines so the inside of the card has a shelf. Now you can use your bone folder inside the card.
Use two sided tape to attach the inside to the outside of the card. Now find some colorful cardstock and stamp it with flowers. Use different colors of cardstock and different sizes of flowers. You will need triple the amount of small flowers. Use black ink, and begin cutting out each and every flower (this is the fun part). Use 3 large flowers to start, bend a corner on 2 of them, (picture) and use a glue dot to attach to the shelf.(picture) Now all you do is continue adding flowers to the flowers and build this out.


Thanks for posting my tutorial with links to me. You have a very nice blog. ~Diane
ReplyDeleteThank you very much Diane!
Delete